How to Clean Soccer Cleats – 6 Simple Steps
Are you tired of playing soccer with dirty and smelly cleats? Do you want to know how to clean your soccer cleats and keep them in tip-top shape? Look no further! In this article, we will provide you with a step-by-step guide on how to clean soccer cleats using simple and effective methods.
By following these instructions, you’ll be able to remove dirt, grime, and even odors from your cleats. So, read on to learn how to clean your soccer cleats and keep them looking and smelling like new! If you have any confusions on what soccer cleats you should buy, make sure to check our article on how to choose soccer cleats.
Materials Needed to Clean Soccer Cleats
Before we get started, let’s go over the materials you’ll need to clean your soccer cleats effectively. You’ll need a few basic items that you probably already have at home, including:
- A soft-bristled brush or toothbrush
- Mild soap or detergent
- Warm water
- A clean towel
- A small bowl or bucket
These materials are readily available and won’t break the bank. Having them on hand will make the cleaning process much easier and more efficient. So, gather your supplies, and let’s get started!
Step-by-step Guide: How to Clean Soccer Cleats
Now that we have all the materials we need, let’s get into the step-by-step guide on how to clean soccer cleats:
Step 1: Remove Debris
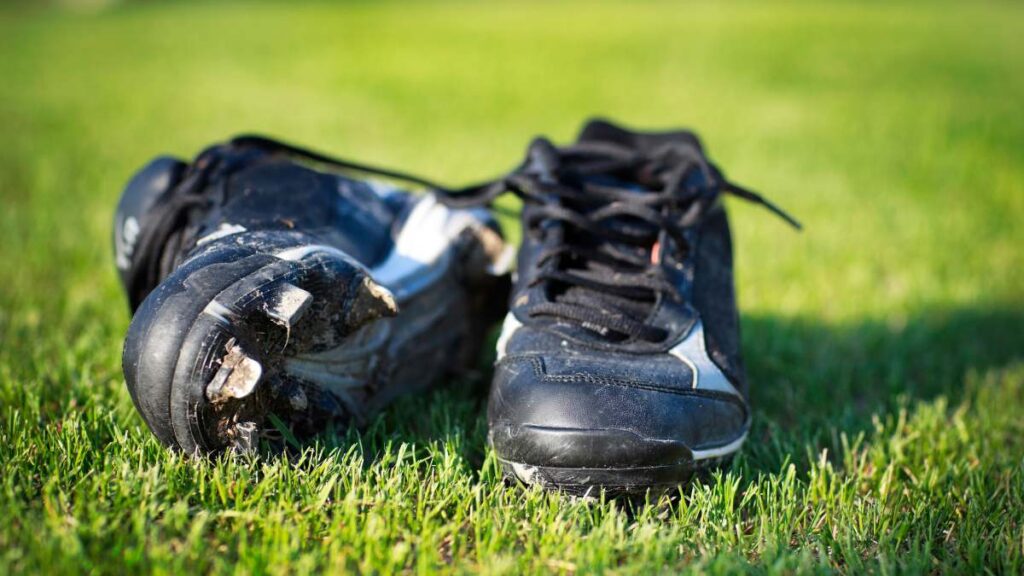
Before you begin cleaning your soccer cleats, it’s essential to remove any dirt, debris, or mud from the surface of the shoes. Use a soft-bristled brush or a toothbrush to gently scrub the surface of the cleats. Be sure to clean every part of the shoe, including the sole, tongue, and toe area. To remove stubborn dirt, you can also use a damp cloth or sponge.
Step 2: Scrub With a Mild Cleaning Solution
Once you have removed all the debris, it’s time to prepare the cleaning solution. Mix a small amount of mild soap or detergent with warm water in a small bowl or bucket. You can also use a specialized cleaning solution designed for soccer cleats. Then dip your brush into the solution and gently scrub the cleats. You can start at the top of the shoe and work your way down to the sole. Make sure to clean every part of the shoe thoroughly.
Be gentle but thorough and avoid scrubbing too hard, as this can cause the material to wear out faster. Pay special attention to any areas that are particularly dirty or stained. For example, if your soccer cleats are white, you may need to use a whitening product to remove any yellowing or discoloration.
Step 3: Rinse
After scrubbing the cleats, rinse them thoroughly with warm water to remove any remaining dirt or cleaning solution. Make sure to rinse off all of the soap or detergent, as leftover soap can cause irritation or damage to the cleats. Check the shoes carefully to ensure all the soap has been rinsed off, especially around the edges and crevices.
Step 4: Wash the Shoelaces
If your shoelaces are dirty, remove them and wash them separately using the same mild soap and warm water solution. Gently scrub them with your brush and rinse them thoroughly. You can also use a washing machine if your laces are particularly dirty. In this case, put them inside a mesh laundry bag and wash them on a gentle cycle.
Step 5: Air Dry
After washing, use a clean towel to dry the cleats and remove any excess water. Then, let them air dry thoroughly in a well-ventilated area, away from direct sunlight or heat. To prevent any further damage to the shoes, avoid using a hairdryer or other heat sources to dry them.
Step 6: Protect Your Soccer Cleats From Damage
To keep your soccer cleats in good condition, you should clean them after each use and store them properly. Always remove any dirt or debris as soon as possible, and never let the shoes dry out excessively in the sun.
Keep them in a cool, dry place, and avoid storing them in a bag or a damp area. Additionally, you can apply a water-resistant spray to help protect the shoes from getting wet and becoming damaged. Make sure to follow the manufacturer’s instructions when applying the spray.
You can also use a leather conditioner or a specialized protector to help maintain the quality of the cleats. These products can help to prevent cracking and drying out of the leather. Finally, it’s a good idea to invest in a shoe horn, which can help to preserve the shape of the cleats and prevent them from becoming misshapen over time.
Also, if your soccer cleats are newly bought, then you would want to break in your soccer cleats before you start cleaning it. To break in your soccer cleats effectively, read our article on how to break in soccer cleats.
By following these tips, you’ll keep your soccer cleats in top condition for longer. Remember to clean them regularly, and never be afraid to seek professional help if you notice any signs of damage or wear and tear.
Final Thoughts
Cleaning your soccer cleats is an essential part of maintaining their quality and prolonging their lifespan. By following the step-by-step guide outlined in this article, you can keep your cleats looking and feeling like new.
Remember that prevention is key when it comes to caring for your soccer cleats. Regular cleaning after each use and proper storage can help to prevent damage and wear and tear. Additionally, applying a water-resistant spray and using a leather conditioner or protector can help to maintain the quality of the cleats.
If you notice any signs of damage or wear and tear, such as cracks or tears, it’s essential to seek professional help. In some cases, it may be necessary to replace your soccer cleats entirely.
By taking good care of your soccer cleats, you can ensure that they perform their best and help you perform your best on the field. So, take the time to clean and care for your cleats regularly, and enjoy many games and practices to come!

